
Autopay
Autopay processes an 835 file from the carrier. Upon reading the file Autopay tests for the existence of an invoice number and transaction number that was provided in the original 837 transmission to the carrier. If it can identity these numbers then it will process the transaction. If not, the transaction is sent to an exception report to show that Autopay could not process this transaction.
835 files are also called ERA files (Electronic Remittance Advice)
SETUP
1. Get set up to receive 835 Files
Call your carrier or clearing house and tell them you want to receive ANSI 835 remittance advice files. They are responsible for instructing you how to receive the files from them. An 835 file contains claims processing information such as payments and adjustments.
2. Download the 835 file
Download the file from your carrier or clearing house. Each carrier or clearing hose will have their own way of handling this. It is up to you to contact them and learn and implement what is necessary to download 835 files.
3. Retrieve
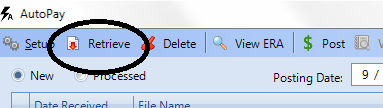
The first time retrieving the ERA file, you will have to scroll to the path where the files were downloaded. Subsequent retrievals will remember that path.
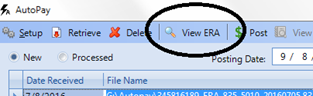
- View ERA
You can view your ERA file or you can print out an EOB if it is needed to attach to a secondary paper claim.
AUTOPAY RULES
What are option sets? They allow you to decide how you want to react to the response codes in an 835 transaction. A sample screen is provided below. You can create multiple option set profiles but it should only be necessary if you want to use different descriptions for the same codes for various carriers.
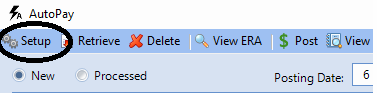
Click Setup to access your Autopay Rules.
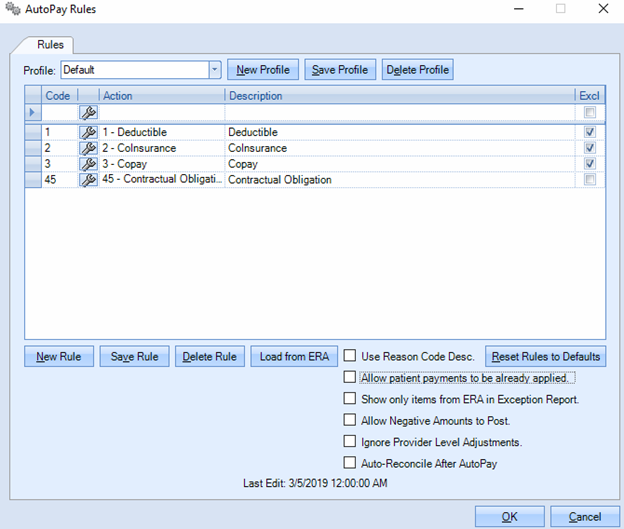
- The check mark on the far right called Excl causes Autopay to treat that rule as a secondary claim, if a secondary carrier exists on the patient chart. This is typically used on patient responsibility codes.
- New Rule – use this to manually add rules.
- Click the wrench icon to access the Claim Adjustment Reason Code Lookup list.
- Select the code and click Add.
- Select the Action type to perform for that code.
- Save Rule – Save newly added rules to the profile.
- Delete Rule – to remove a rule.
- Load from ERA
- Highlight the retrieved ERA file and click Setup.
- Click Load from ERA
- This will load all the codes in the ERA that are not already in your profile.
- Choose the action type to take for the code.
- If you choose not to allow Autopay to post a specific code, click the box in front of the code and press delete on your keyboard or highlight and click Delete Rule button.
- Use Reason Code description – prints the description in the ERA rather than your Action Type.
- Allow Patient Payments to already be applied – for patient payments collected on DOS.
- Show only items from ERA in Exception report –
- Unchecked – the Exception summary report will show any manually entered adjustments or transfers.
- Checked – the manually entered adjustments or transfers will not show on the summary page.
- Allow negative amounts to post – sometimes carriers take back payments.
- Ignore Provider Level Adjustments – some carriers pay incentive money for filing electronically. Posting that amount would overpay a charge, causing that claim’s transactions to be skipped, unless this box is checked.
- Auto Reconcile after Autopay – After the ERA is processed, it will go through the list of items in the ERA and reconcile the oldest unassigned patient payment to the first DOS with patient balance > zero.
Process the ERA
Now we need to process the file
Highlight your file and click $ Post on the Autopay screen. You can change the Posting Date before posting if you want the deposits to go on a certain day which will also show on the Daysheet for that day.

When it is complete it will bring up the Exception report. You can go back and print this at any time using View and print the Exception Report.

This report will tell you which transactions did not process and you will have to manually post those transactions. If you only want to see items that require your attention then check this box before Posting or bringing up the report:

View Postings From this ERA will show all of the transactions made in the selected ERA file from the Processed list. You can select and delete transactions here but it is not recommended to use this feature that way.

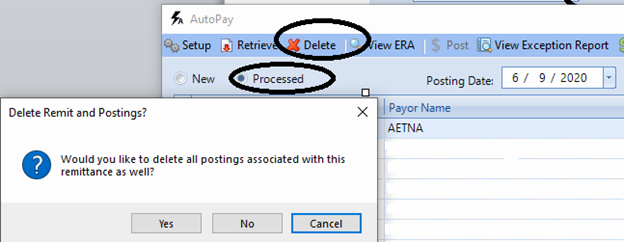
If an ERA needs to be completely backed out then you can delete the ERA from the Processed list and it will prompt to also delete all of the transactions.
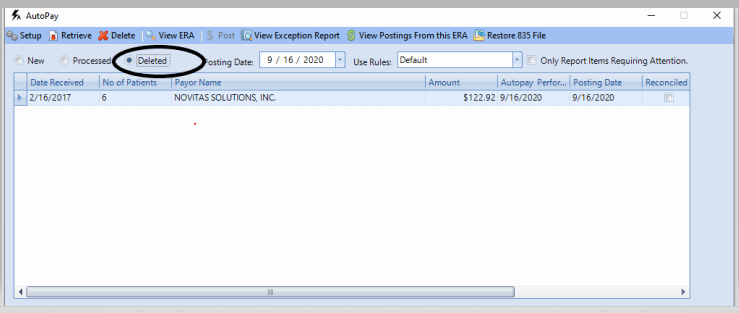
If the ERA needs to be re-posted then it will need to be deleted from the Deleted list prior to retrieving the file as new:
More information on deleting an ERA can be found here
0 Comments