
The scheduler can become slow when dealing with a substantial number of appointments, as is the case often with a large practice. The office may also have a need to remove an appointment completely from view, but retain a copy of it, in case it needs to be reviewed at some point in the future. The Archive Appointment functionality satisfies both of these needs. (See Tech Support)
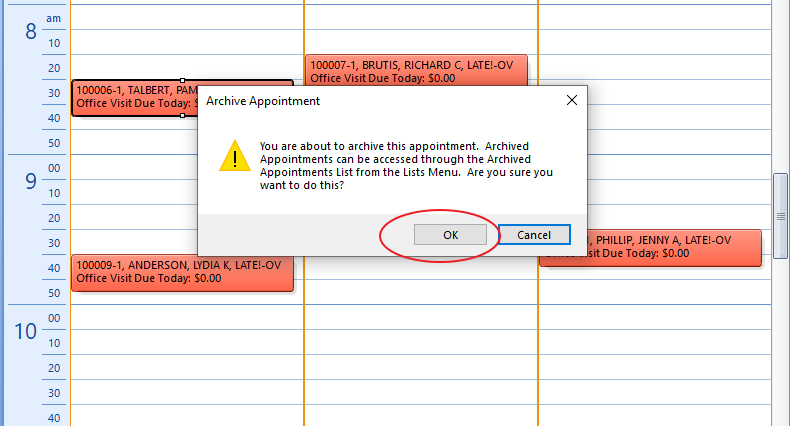
ARCHIVING A SINGLE APPOINTMENT FROM THE SCHEDULER Highlight the appointment you would like to archive, right-click, and choose “Archive” from the menu.

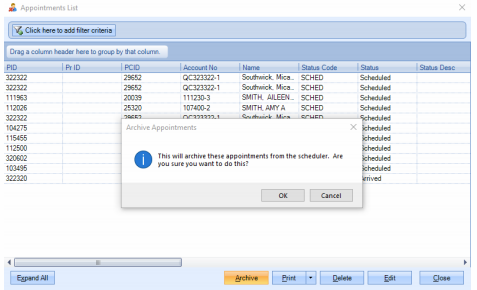
A confirmation message will display. Select OK to archive the appointment.
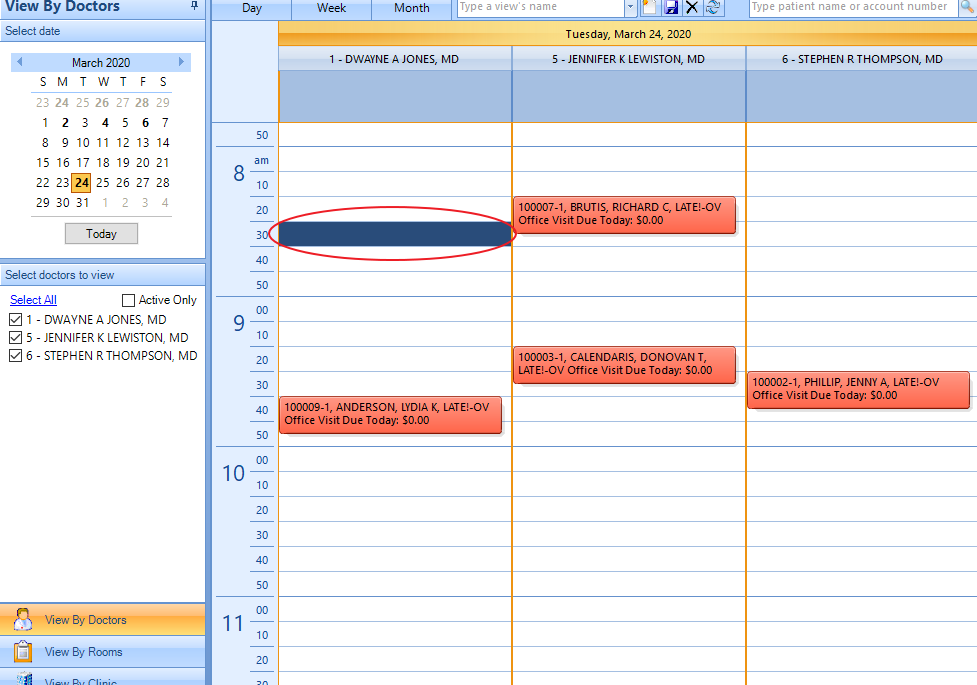
The appointment will no longer display in the main schedule view. It will now be archived.
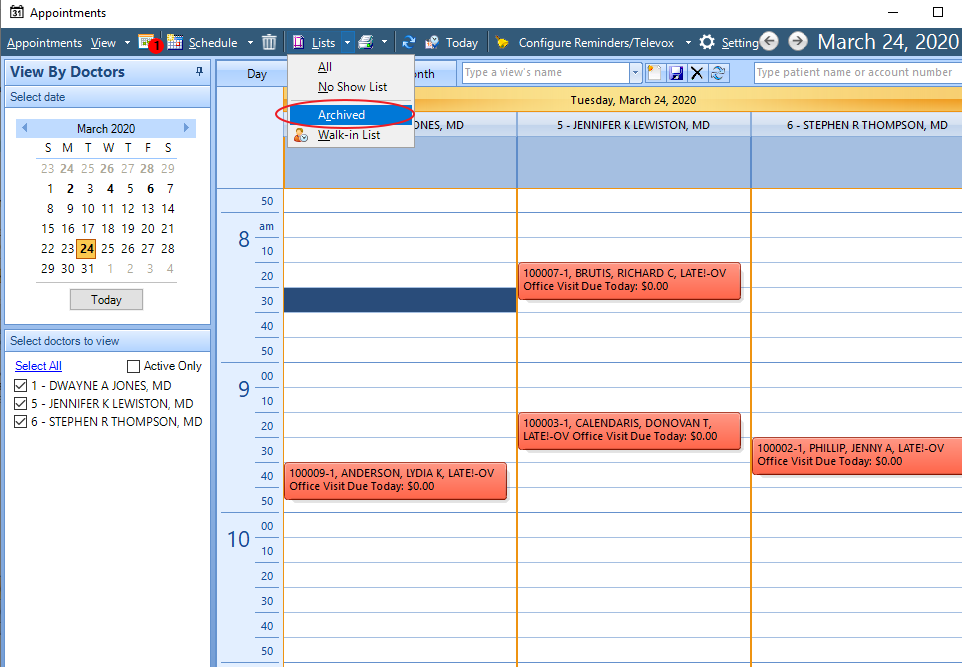
ACCESSING ARCHIVED APPOINTMENTS
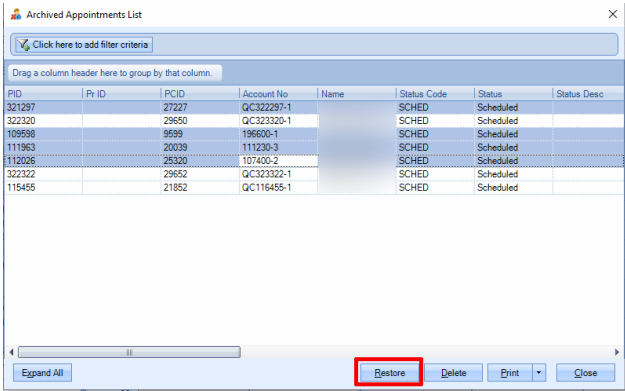
To access the archived appointments in the system, select View -> Lists -> Archived.
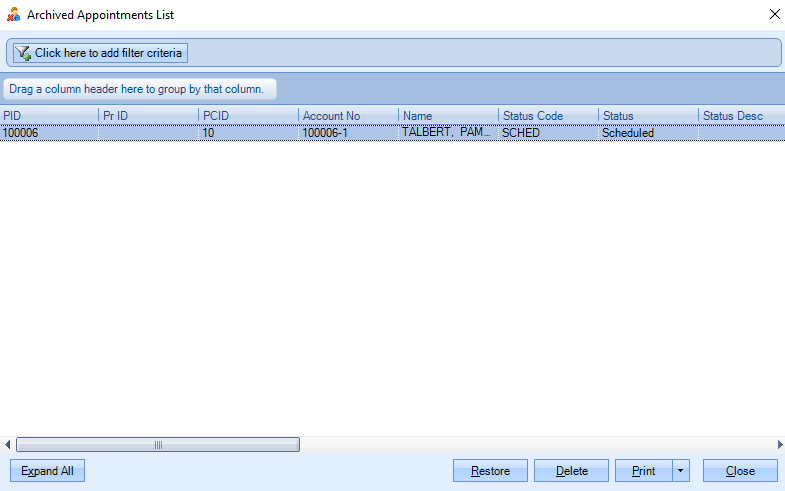
The Archived Appointments List will display.
ARCHIVING MULTIPLE APPOINTMENTS:
The option exists to archive multiple appointments at once from the appointment list. To highlight
more than one appointment to archive, click while holding the SHIFT key (multiple appointments
selected in succession) or the CTRL key (Individual appointments selected by clicking in succession):
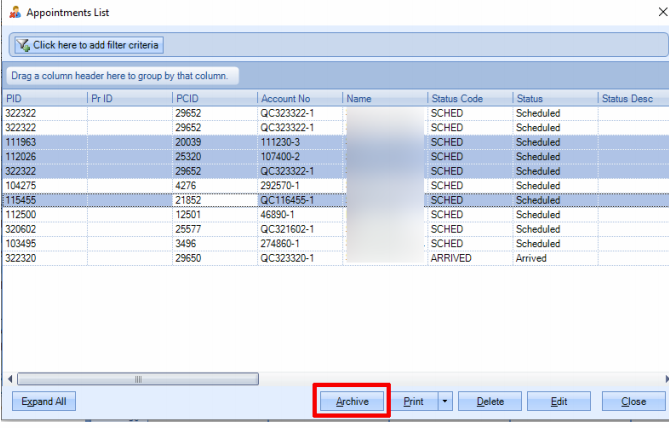
After highlighting the desired appointments, click the Archive button and confirm to Archive:
RESTORING ARCHIVED APPOINTMENTS:
To restore an archived appointment, simply open the Archived Appointments List. Select the
appointment to restore and click the Restore button. To highlight more than one appointment to
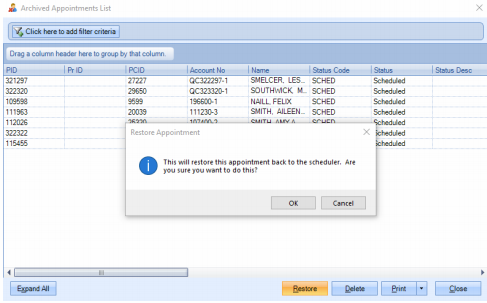
restore, click while holding the SHIFT key (multiple appointments selected in succession) or the CTRL key
(Individual appointments selected by clicking in succession):
After highlighting the desired appointments, click the Restore button and confirm to restore:
Revised by Aubrae 6/23/21
0 Comments