
Introduction:
The MyTab Interface was introduced as a replacement for an original function, called the Custom Tab. The Custom tab would allow user-defined data entry and labels. The original design was disorganized and very problematic, prone to errors and data loss.
It was decided that the interface should be rewritten completely. The new design would be consistent, contained in a centralized location, and have built-in data checking and management capabilities.
The design resulted in the MyTab database viewable on the patient chart, Custom(My) tab.
To Turn on MyTab and MyTable interface:
The MyTab interface is automatically enabled for customers who are conversions from Legacy AS/PC. This is due to the legacy My file that is converted into the MyTab interface at conversion time.
For those customers who do not have the MyTab interface turned on yet, and would like to make use of this feature, there are a couple things to consider:
- Have they already been using the originally designed interface called the “Custom Tab” to store their data?
- If so, do they want to have that data converted over?
If the answer to item 1 is yes, the “MyTab” will have to be enabled and the “Custom Tab” disabled. If the answer to item 2 is also yes, the data will have to be imported from the “Custom Tab” to the “MyTab”.
CONTACT TECH SUPPORT TO:
- Enable this feature
- Deactivate the existing Custom Tab
- Convert the Custom data to MyTab
SETUP THE MyTab:
- To define the MyTab fields
- Tasks
- Admin
- My Designer/Custom Tab
- The Designer Interface will appear:

- To Add a field to the MyTab:
- Enter a database field name in the column labeled, “Database Name”. This is how the raw data identifies it.
- Select the type of data the field will store:
- Whole Number
- Text
- Date
- Screen Label
- Enter the length of the field
- Enter the Screen Label. This is how it displays on your my Table tab.
- To remove a field from the MyTab, the user can click the far left blue tab on the row. This will select the entire row. The user can either click the button “Delete” or press the “Delete” key on the keyboard. After the user confirms they want to delete the entry, a warning message may appear. The message will only appear if PM detects there is already entered data for any patient for this field:

If the user clicks “Yes”, the field will be deleted, and the data will be lost.
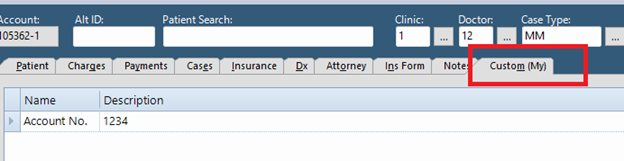
ENTERING DATA INTO THE MyTab via chart tab named Custom(My):
- Open a patient file.
- On the far right of the patient file center data display, click on the tab “Custom(My)”.
- Here you will find the MyTab entry fields for the data of the patient file you have opened. The data is checked as it is entered to ensure that it can be accepted into the database. (A person’s name cannot be entered for a date, etc.)
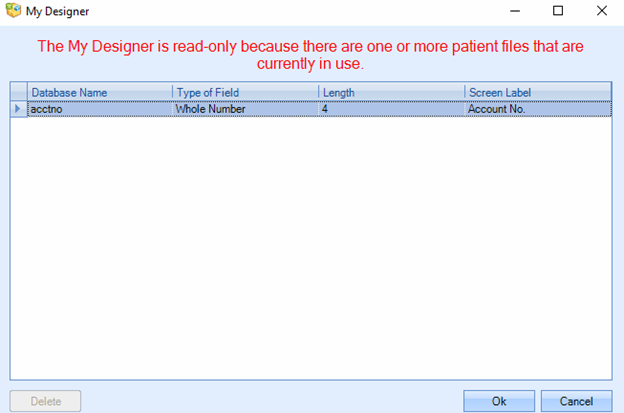
IMPORTANT NOTE:
All patient files must be closed before the My Designer can be used. If a patient file is open, the Designer will open in Read-Only mode and this message will appear:
0 Comments