
Batching Patient Statements is easy to do and provides the user with various options.
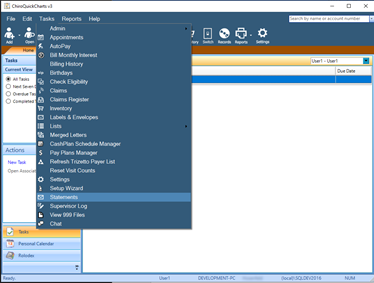
- On the Menu bar, select Tasks and Statements.
- The first window will present options to choose if you wish to send statements to all patients, specific accounts, or use filters on a specific list.
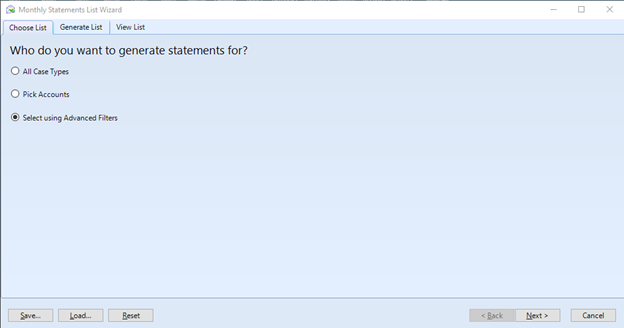
- All Case Types will load a list of all patients with a positive Total Balance.
-
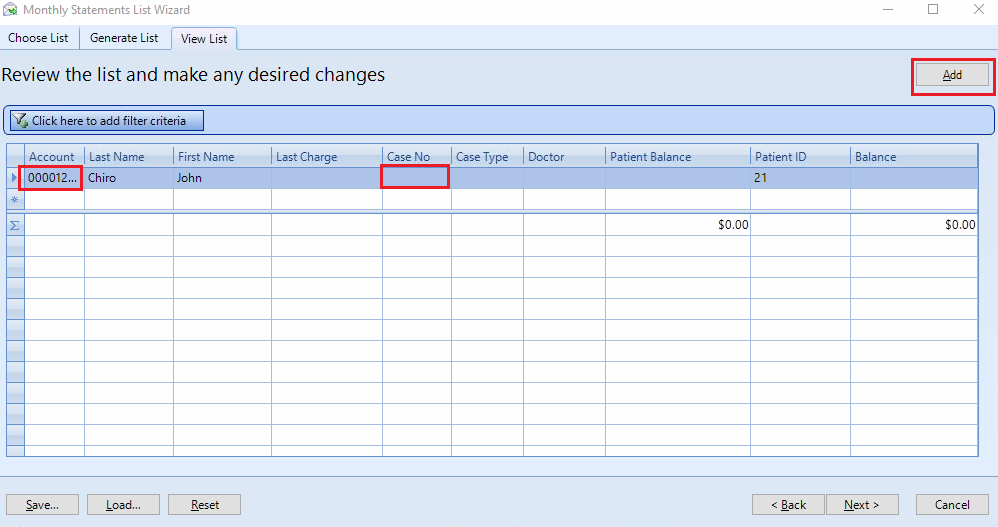
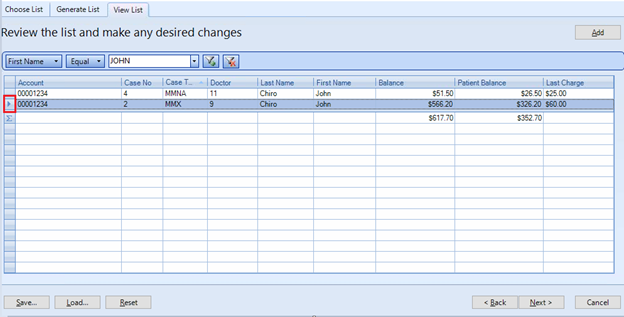
Pick accounts will allow you choose specific accounts to add. Click the Add Button at the top right. The top line will be become active and allow you to type into the account field. Enter an account number and hit enter. It will load the account into the grid. The “Case No” field is a dropdown that will allow you to pick the case for that patient, if they have multiple cases.
-
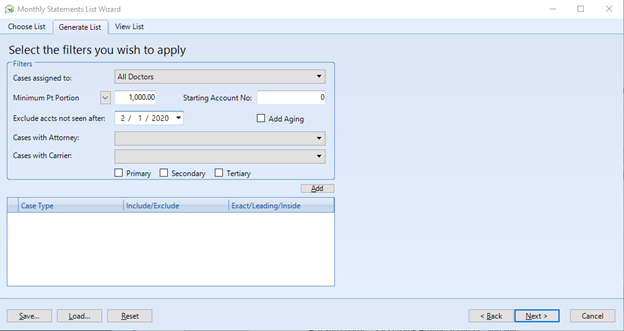
Select using Advanced Filters, presents you with some selection criteria that can be set to narrow the list of patients that are retrieved to a smaller set. You can filter by a specific doctor, minimum patient or total balance amount, starting account number, last visit greater than a specific date, attorney, carrier, and case type.
-
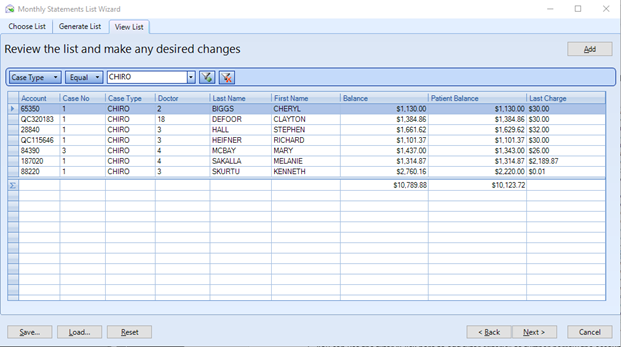
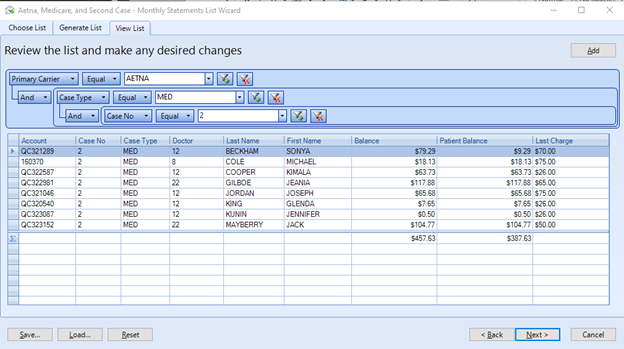
The list on the next window will display the patient accounts that match your criteria. You can sort on any of the columns by clicking on a column header. You can reorder columns by clicking and dragging a column into position. You can also right-click and show/hide other columns.

-
You can use the filter “Click here to add filter criteria” to further narrow the accounts selected. Click the button and choose the column to filter on, the type of comparison, and the value to look for.
-
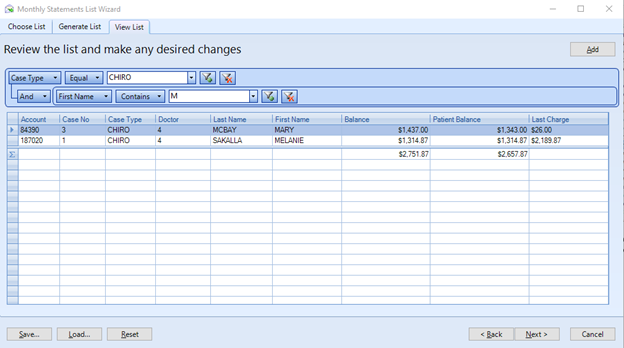
You can have more than one filtering criteria. Click the Filter button with the green plus sign to add an additional filter. Use the Filter with the red minus to remove a filtered criteria.
-
Once you have your list filtered the way you desire, you can still review the list and remove any patients from the list by clicking on the box at the beginning of the line, which highlights the entire line, and pressing the Delete key on your keyboard.
-
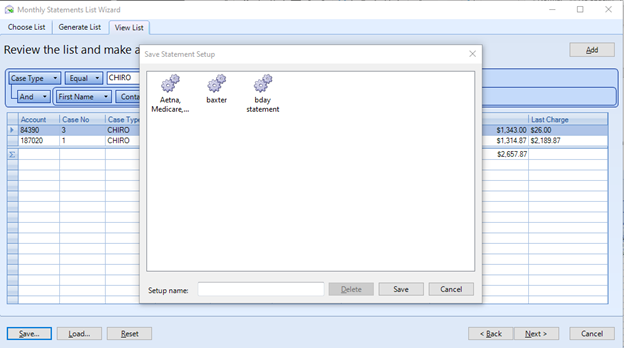
You can save your filter criteria by Clicking the Save button. You can either make a new saved filter by giving it a unique name or overwrite an existing one by selecting it and double-click or clicking save. You can delete a filter by highlighting the saved filter and clicking Delete.
-
To load a saved filter click Load button, highlight the saved filter and either double-click or click the Load button.

-
The settings will load and set to what you had saved. When you run the report, you will see the same setup and it will load the current accounts that match it.
 NOTE: A loaded filter will persist until the window is closed OR it is reset, which is done by clicking the Reset button at the bottom of the window.
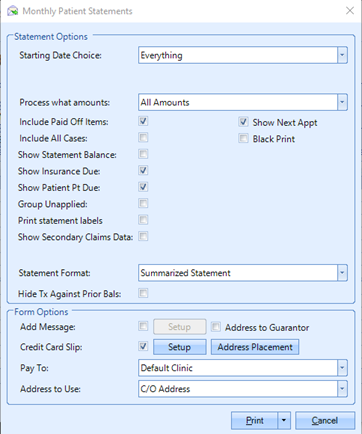
- After selecting the criteria, you will be directed to the Statement Wizard screen.
-
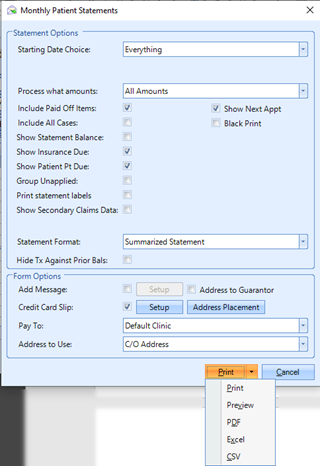
After selecting the choices of what you would like to see on the statement, Click the print button or choose from the different Output choices from the dropdown arrow next to the print button.
0 Comments