
Payment processing integration with OpenEdge Global Payments is available with your Practice Management software. The Credit Card Processing feature is inactive by default. If you are interested in this payment processing feature you can contact our sales department at 610-820-0440 opt. 2 or email asktech@dbconsultants.com for more information.
Feature overview:
After installation and interface is activated your Patient credit\debit card payments can be automatically processed, and the payment line is automatically entered to the patients account. OpenEdge integration with the PM software will provide a quicker checkout experience, it will eliminate errors, it will save your staff 15-30 minutes every single day and it will save you money.
Access Credit Card Settings:
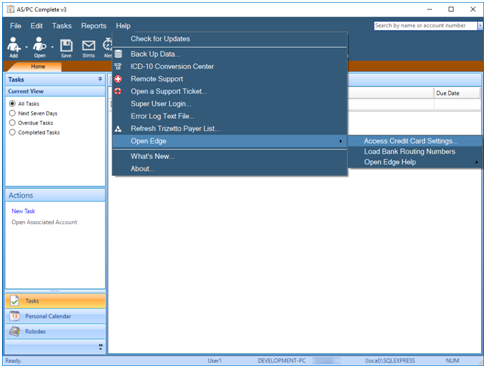
- Click on the menu item Help->Open Edge->Access Credit Card Settings…
- The “Payment Processing Setup” window will appear:
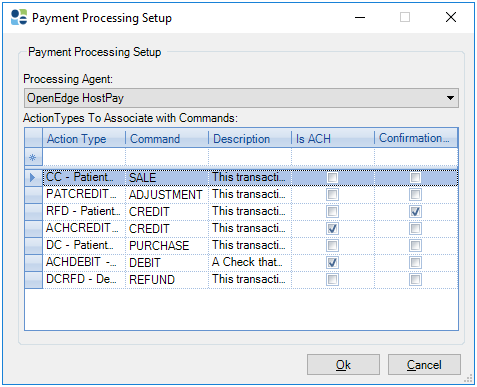
- Processing Agent: A drop down that will allow to select between different processing agents (currently we only interact with Open Edge).
- Action Types to Associate with Commands: A table of actiontypes that are mapped to commands that OpenEdge understands. The grid contains four columns:
- the ActionType that will perform the OpenEdge command,
- the OpenEdge command that will be executed when the actiontype is performed,
- the description provided by OpenEdge for the OpenEdge command,
- a checkbox that indicates whether or not the command is specifically intended for ACH processing (used for commands that are used in both credit card processing and ACH processing, example: the command CREDIT is used for both ACH and credit card processing.)
- A checkbox that indicates whether or not the user will need to Confirm to Proceed with the transaction before the actiontype is processed.
There are several pre-assigned actiontype/command mappings:
- CC / SALE: This transaction type is used to purchase goods and services.
- PATCREDIT / ADJUSTMENT: This transaction can be applied to Sales, Authorizations or Captures.
- RFD / CREDIT: This transaction will credit the funds to a customer’s account after settlement of the original batch has occurred.
- ACHCREDIT / CREDIT: This transaction will credit the funds to a customer’s account after settlement of the original batch has occurred.
- DC / PURCHASE: This transaction accesses a debit card account using a PIN based Debit Card.
- ACHDEBIT / DEBIT: A Check that is accepted for payment of services.
- DCRFD / REFUND: This transaction will return the funds to a customer’s bank account.
Other Help|Open Edge menu items
- Load Bank Routing Numbers. This will load up a pre-set list of routing #’s from a variety of banks. It can be accessed from the patient’s CC Processing box. Click on the pick button in the ABA Routing Number field.
- Open Edge Help. This area is used to help decipher error codes that come back from transactions when there is a problem.
CREDIT CARD/DEBIT CARD PAYMENTS
** Without storing Credit Card information with OpenEdge.
- Open a patient’s file.
- Go to the Payments tab.
- In the bottom right window aka “tabbed snapshot window”, click on the tab “CC Processing”, click the radio button “Debit/Credit Card” and check the “Ask for Card Every Time” box:
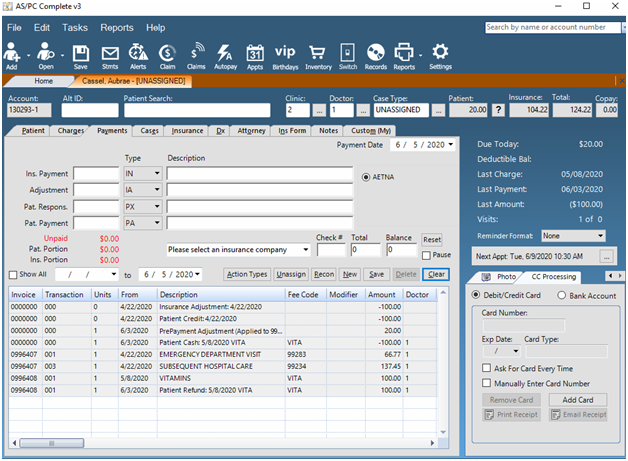
- To post a Patient Payment, select the actiontype that you have assigned to do a credit card “SALE” command. If you are using the pre-assigned actiontype/command setup, then you would select a “CC” actiontype. Type an amount and save the transaction as you normally would in the PM program.
5. At this point, one of two things will happen:
a. If you have selected to use an EMV (Credit Card) terminal, a message window will display telling you to insert/swipe/enter the card on the terminal:
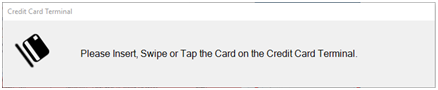
You will then interact with the terminal to run the card for the transaction.
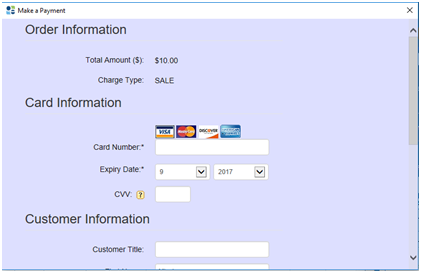
b. If you do not have an EMV (Credit Card) terminal, a scrollable window will appear with entry boxes for Credit Card Number, Expiration Date, CVV code, and customer demographic information. The customer demographic information is loaded as much as possible from the patient file.
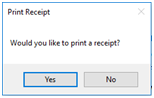
- A message will display asking if you would like to print a receipt.
- If you chose not to print a receipt, the transaction will save as normal and will store the receipt information for later printing, if desired. To print a receipt on a previous payment you must first highlight that payment line item under the Payments screen then click Print Receipt in the CC Processing box.
- If you do choose to print a receipt, 2 print jobs will occur, one for the merchant credit card slip and one for the customer credit card slip. The program will display a message in between the print jobs. (The interface was implemented in this fashion due to lack of an automatic paper cutter with the printers we were able to test/use. A message will display for each print job so that the end user can tear off the receipt for the merchant separately from the receipt for the customer. This may change in the future to be more accommodating for the automatic paper cutting.)
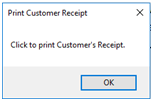
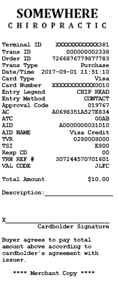
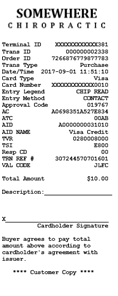
- If you decide to print a receipt later, you can do so by the following instructions.
- Using the patient’s file that has the credit card transaction, in the payments tab, highlight the payment for the credit card transaction that was processed.
- In the bottom right window aka “tabbed snapshot window”, click on the tab “CC Processing”, click on the button that says “Print Receipt”. (This can also be done by keyboard shortcut Alt-R when the payment is highlighted in the grid.)
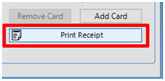
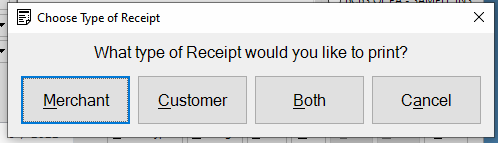
- A dialog will appear, asking if you would like to print a Merchant Receipt, Customer Receipt, or Both:
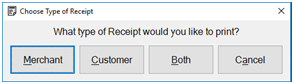
- Selecting one these will perform the print job desired. If “Both” is selected, then the Merchant Receipt will print first, followed by a message to allow the user to tear off the receipt, and lastly after the message button is clicked, print the customer receipt.
STORING CREDIT CARD/DEBIT CARD IN OPENEDGE’S MANAGED PAYER DATA SYSTEM:
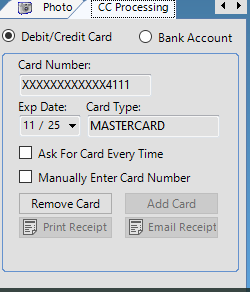
- In the bottom right window aka “tabbed snapshot window”, click on the tab “CC Processing”, click the radio button “Debit/Credit Card” and ensure that the “Ask for Card Every Time” checkbox is unchecked and check the “Add Card” button and enter the card information.
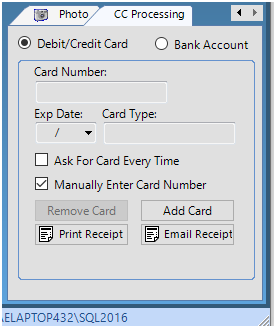
- Another way to store a card is to Process a Patient Payment: Run a credit card transaction for an amount and it will store the card in OpenEdge’s Managed Payer Data System for later use
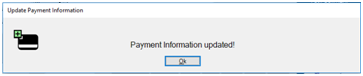
- After the payment data is successfully saved this message will display:
- In the tabbed snapshot window labeled “CC Processing”, you will see that the masked credit card number (only the last 4 digits shown), expiration date, and card type will display in the fields on that tab.
- The card information can be entered manually at the time of payment entry by checking the option to “Manually Enter Card Number”.
REMOVING A STORED CARD FROM OPENEDGE’S MANAGED PAYER DATA SYSTEM:
- In the tabbed snapshot window labeled “CC Processing”, click the button “Remove Card”.
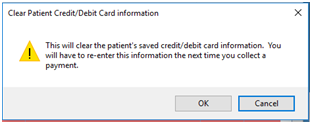
- A message will display to confirm that you, indeed, want to delete the stored information:
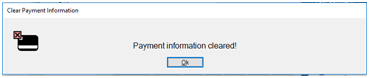
- If “Ok” is clicked, the data will be removed from OpenEdge’s Managed Payer Data System and the tabbed snapshot window labeled “CC Processing” will clear the fields for the data, and this message will appear confirming the removal:
SPECIFIC INFORMATION REGARDING DEBIT CARDS:
Because debit cards are required to enter the pin number for each transaction, regardless if the debit card is stored on file, the card will need to be inserted/swiped/entered for each transaction, followed by a pin number entry on the terminal or on the data window (if set to not use a terminal).
DELETING OPEN EDGE PAYMENTS:
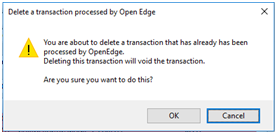
- In the Payments Grid, highlight the desired payment, and either click the Delete button on the window or press the Delete key. A message will appear asking if you want to proceed with the deletion of the OpenEdge transaction:
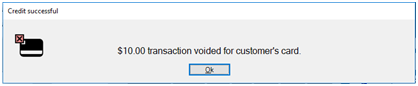
- If you click “Ok” and the transaction is not fully processed by OpenEdge you will see this message, and after clicking ok, the transaction will be deleted from the payments grid:
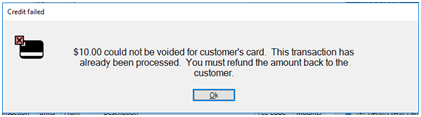
- If you click “Ok” and the transaction has already been fully processed by OpenEdge, you will see this message and you will be required to credit the customer back the amount and no deletion of the transaction is possible:
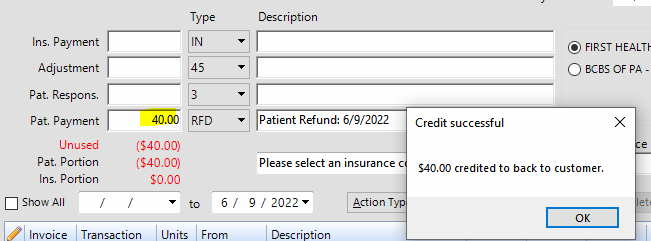
NOTE: A RFD can be entered to refund the patient. A message will appear regarding the amount credited back to the customer when the RFD is saved. WHen you clock on on the message then you will be able to print a receipt for the refund:
NOTE: Debit Card transactions are processed IMMEDIATELY. This means these transactions are unable to be voided/deleted after they have been made. They will NEED to be refunded back to the customer.
ACH PAYMENTS
- Open a patient’s file.
- Go to the Payments tab.
- In the bottom right window aka “tabbed snapshot window”, click on the tab “CC Processing” and click the radio button “Bank Account”:

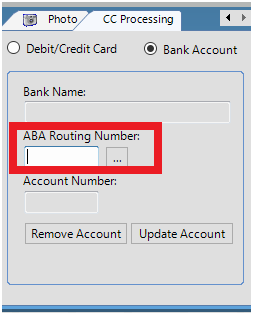
- To check if a routing number is valid you can type in the textbox labeled ABA Routing Number and it will perform a hot lookup of the routing number and display its name in the Bank Name field. If you need to add a Routing Number then you can click the button next to the ABA Routing number box then click add in the lookup screen.
- To post a Patient Payment, select the actiontype that you have assigned to do an ACH “DEBIT” command. If you are using the pre-assigned actiontype/command setup, then you would select a “ACHDEBIT” actiontype. Type an amount and save the transaction as you normally would in the PM program.
- If no checking account data is stored for the customer, a window will appear to allow you to enter this data.
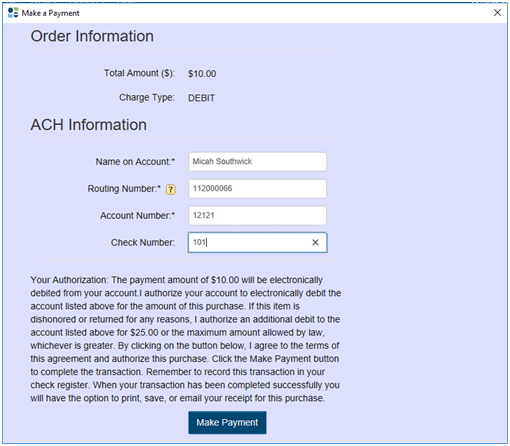
- When you click the button “Make Payment”, the routing number and account number information will be stored in Open Edge’s Managed Payer Data system for future use.
- The “CC Processing” tabbed snapshot window will update with a masked account number only showing the last 4 digits of the account number.
- No routing number information will be obtained, since Open Edge does not send this data back to the PM program.
- The end user does have the option of storing the Routing Number by manually typing the routing number in the Routing Number lookup textbox and saving the patient file, but this is for display purposes only.
- The routing number is not used/returned when issuing payments after the initial entry on the form shown in Step 6.
ACH - STORING CHECKING/SAVINGS ACCOUNT INFORMATION IN OPENEDGE’S MANAGED PAYER DATA SYSTEM:
- In the bottom right window aka “tabbed snapshot window”, click on the tab “CC Processing”.
2. To store a checking/savings account, you choose either method: Process a Patient Payment: Run an ACH transaction for an amount and it will store the card in OpenEdge’s Managed Payer Data System for later use OR process a $1.00 authorization/credit transaction: if you only want to store the account information.
3. Click on the “Update Account” button on the tabbed snapshot window labeled “CC Processing”.
4. When you click the “Update Account” button, the system will display a window to enter the checking/savings account information:
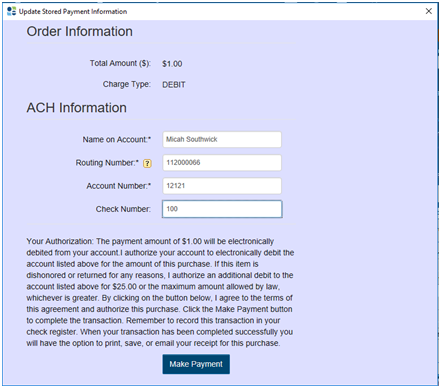
(You will see that the amount shows $1.00 which will be explained in the next step.)
5. When you click on Make Payment, the system will attempt to process two back-to-back transactions ($1.00 ACH debit, $1.00 ACH Credit), which is used to update ACH information for the OpenEdge Managed Payer Data System. (ACH transactions cannot be for $0.00 like a Zero-Dollar transaction for a credit/debit card.)
6. After the payment data is successfully saved this message will display:
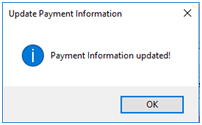
NOTE: In the tabbed snapshot window labeled “CC Processing”, you will see that the masked checking/savings account number (only the last 4 digits shown) display in the field on that tab.
ACH - REMOVING A STORED CHECKING/SAVINGS ACCOUNT FROM OPENEDGE’S MANAGED PAYER DATA SYSTEM:
- In the tabbed snapshot window labeled “CC Processing”, click the button “Remove Account”.
- A message will display to confirm that you, indeed, want to delete the stored information:
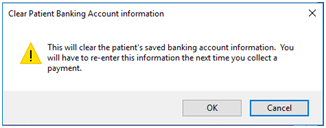
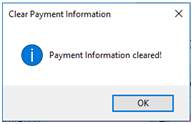
- If “Ok” is clicked, the data will be removed from OpenEdge’s Managed Payer Data System and the tabbed snapshot window labeled “CC Processing” will clear the fields for the data, and this message will appear confirming the removal:
0 Comments