
Record Center allows you to save electronic files and scans to a Patient account and retrieve them when needed.
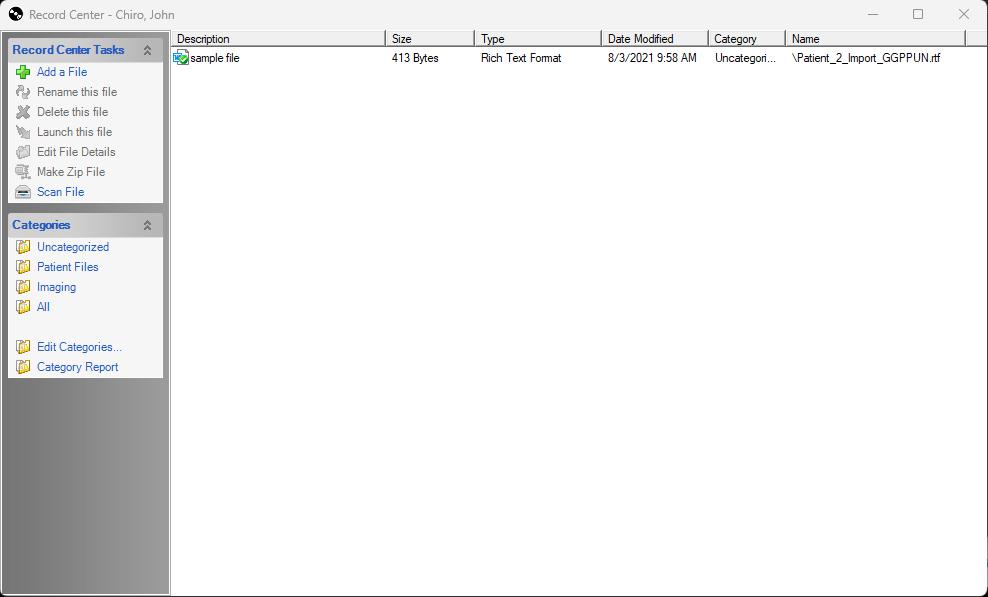
The Record Center Tasks menu contains the options for working with existing files and adding a new one.
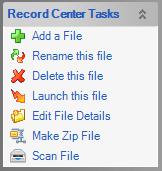
Add a File will present a screen which allows you to browse your local computer or network location for a file you wish to add to the Patient record.
Rename this file will present a screen with the details of an existing file so it can be renamed or moved between categories
Delete this file will remove that file from the Patient Record
Launch this file will open the file in the program used for viewing that file type on your PC
Edit file details will display the details of that file and allow them to be changed
Make a Zip will allow you to choose a location for all files to be zipped for delivery via email or upload - this would be used in the event of a patient file request.
Scan File will open your scanning software so you can scan a paper file directly in to Record center from your local scanner
The Categories menu displays existing file categories and allows you to choose a category to view.

Choosing a category will cause record center to only display the files saved to the selected category. By default, the system contains 4 Category choices, Uncategorized, Patient Files, Imaging and All.
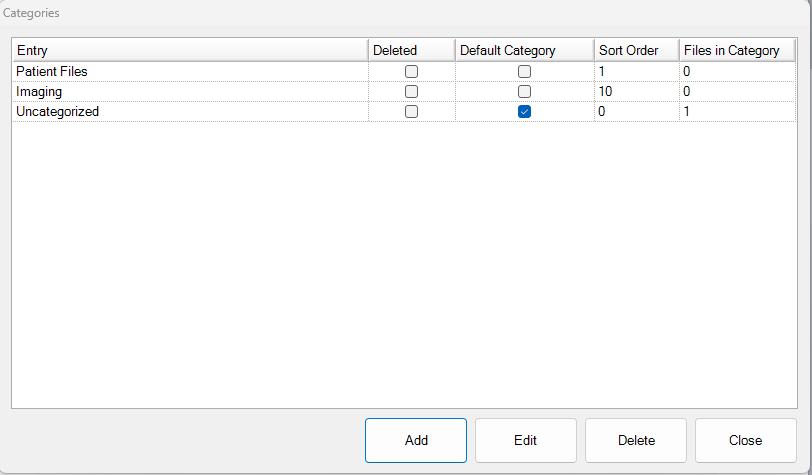
Edit Categories will launch a screen which allows you to modify or remove existing categories and allow you to add new ones. It also gives you a quick way to know how many files exist in a category for the Patient you are viewing. The Add button allows you to create a new category name. The Edit button allows an existing category to be renamed. Delete will allow you to remove a category that is not in use.
Category Report will send the details on that Patient to a report which can be saved or printed. The report will show you the number of files in each category for that patient. This can be a useful tool for verification in the event of a records request.

0 Comments